
New ways of making your car look cooler are omnipresent and very often easy to do but in the following video we take a look at such process which is called the heat changing paint.
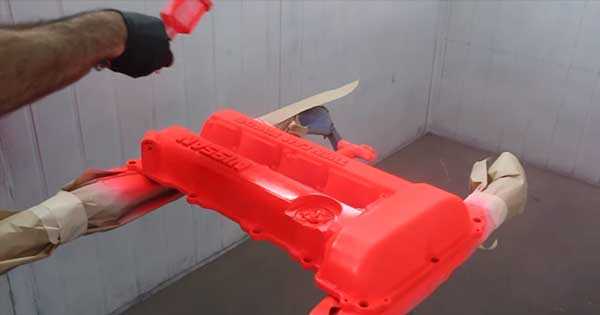
The name says it all, this is a process in which you paint the desired part, and it can actually be any object you want, so it will eventually due to the heat change color. The process is pretty similar to the application of your regular color, the only difference being the number of coats you need to put on. A nice and easy-to-follow demonstration is given in the following video. The heat changing paint starts off with prep cleaning the part, in this case the engine cover. Make sure to sand it down perfectly.
After this it is off to the first coat, which is called the 2k etch primer. Every little hole should be painted nicely. The next step is applying the white base. After finishing it, the fluro red base is sprayed all over the cover. Then, he paint one half of the cover with another layer of the white base hence he is going to paint this part with the fluro orange base. After that, they take the cover to the process called hydro dipping. In order to protect everything and to give the effect of a heat changing paint they apply thermo chromatic paint. Then to finish off, a black paint covers the whole part. Check the video for more and see how the paint actually looks like!
However, check out this gorgeous midnight blue paint on this Nissan!