
If you wanna know how to Paint your Car right, there are steps that need to be followed.
How To Paint your Car First step is assessment and blasting!
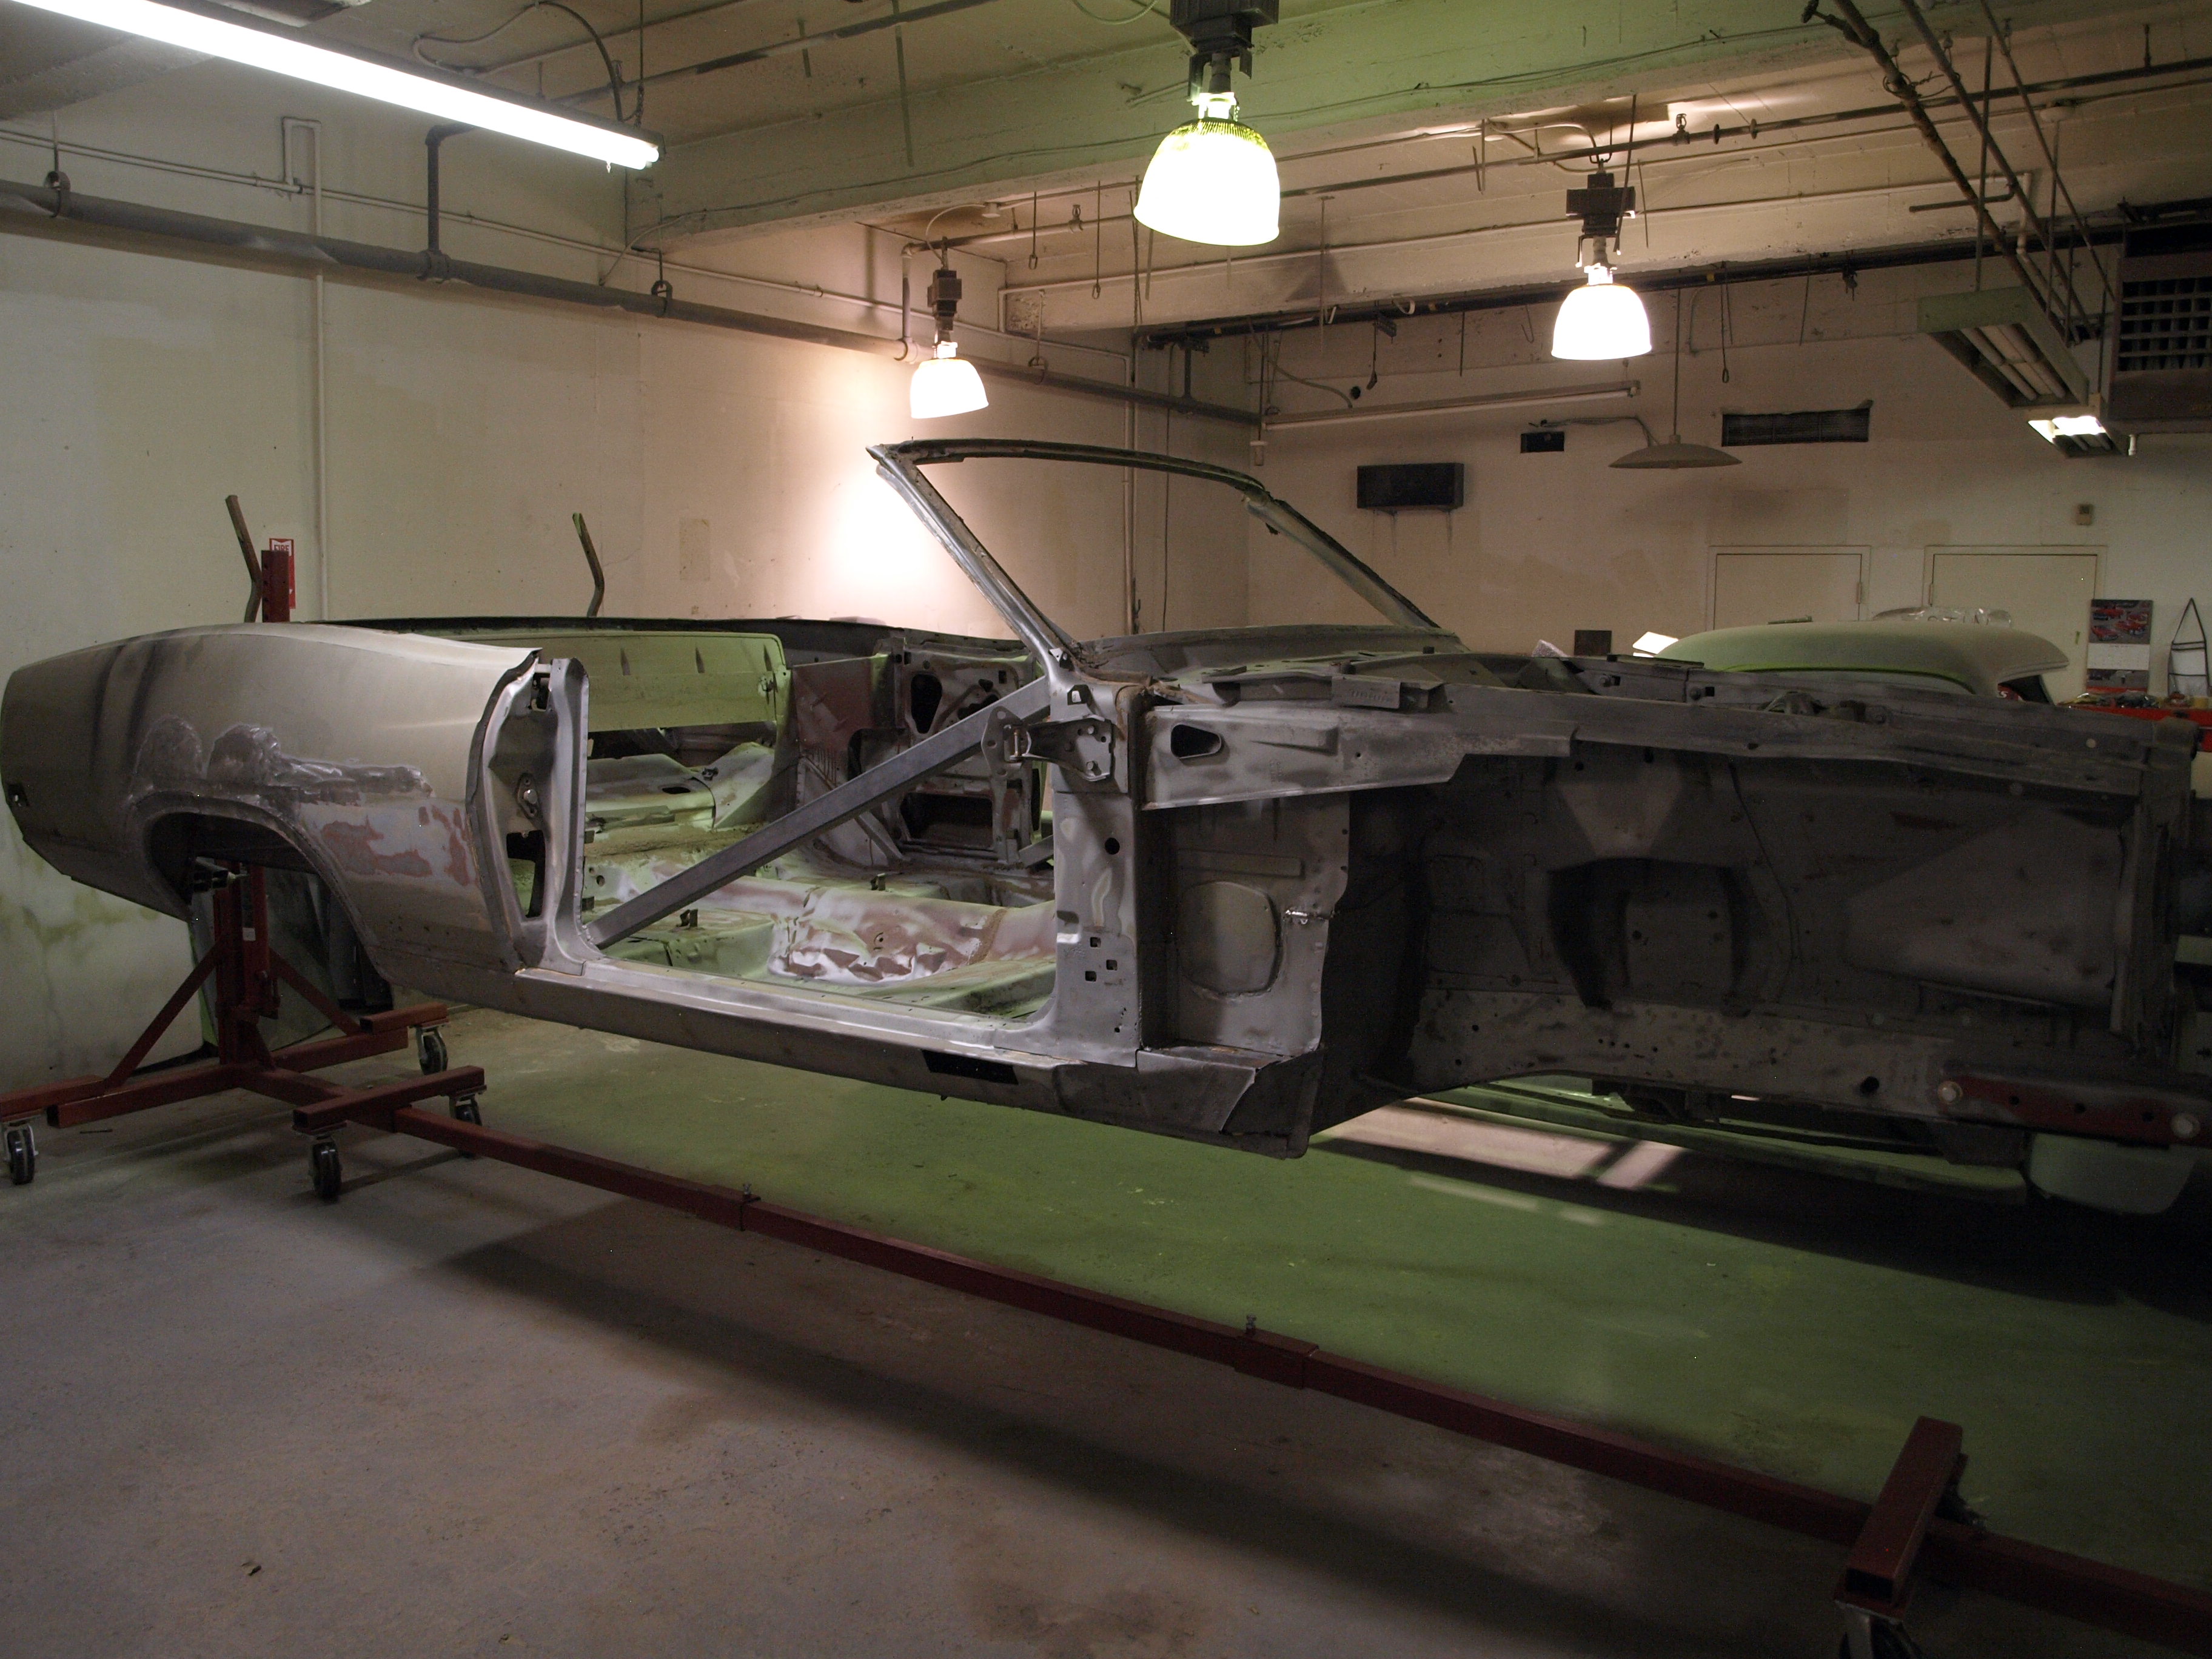
When we were at the paint-point with our Max Effort Project, we knew it that the best decision to be made was to take the body down to bare steel and to strip down the left overs of the remaining paint. When the stripping was about to be performed, we called our guys from Pacific Coast Powder Coating to ask if they were up to the task.
And of course they were. The guys used nonabrasive plastic bead. The nonabrasive bead will took off the paint, but it shall not achieve the appropriate heat and the body panels shall like it. In places in need of tougher material in order to take off the undercoating, big layers of rust, or something else the guys from Pacific Coast Powder Coating blasted away the crud by using aluminum oxide.

How To Paint your Car Secondly, there`s rust and damage repair!
Despite their popularity in the past, Cougar`s don`t still enjoy the benefits of aftermarket replacement patches intended for rust repair. When West Coast Classic Cougars suggested the the pre-production variant of their own windshield rear filler intended for `67/`68 Cougars in order to assist us in the Max`s fixes. An Eastwood shrinker was used in order to compress exit stuff and shape patches as well as a package of Eastwood dollies and body hammers. Once everything has fallen into place and grounded down, it looked like it never had any rust on it.
Thirdly, there is the body work that needs to be done!
Max had many echoes and some other small impairment in the sheet-metal. Before the filler for the body is used, the purpose is by using nothing but your hands, to remove as much damage as its possible. The holes in the Cougar needed to be filled and the badge needed to be removed in order to do so, but still there were many holes that needed to be deleted, so what we kept was the external rear-view mirror, the radio antenna and the factory vinyl roof trim. In order to fill the holes, you need to know their diameter first.
It is not the most suitable method to install a copper head to which the welding wire shall not attach to. This method is most suitable for holes which measure one inch in diameter. This method is also good for bigger holes cuz it sustains the temperature at the appropriate level and also keeps the material from wasting. But as we all know, there as such holes that will get in your way, that it will be impossible to find an appropriate method or tool for them.
Fourthly, there`s door fit!
Max`s doors were in appropriate shape and measurement, so the hinges needed to be pinned prior to transferring to PCPC for means of blasting. In order to locate their place, several holes were made using a drill.
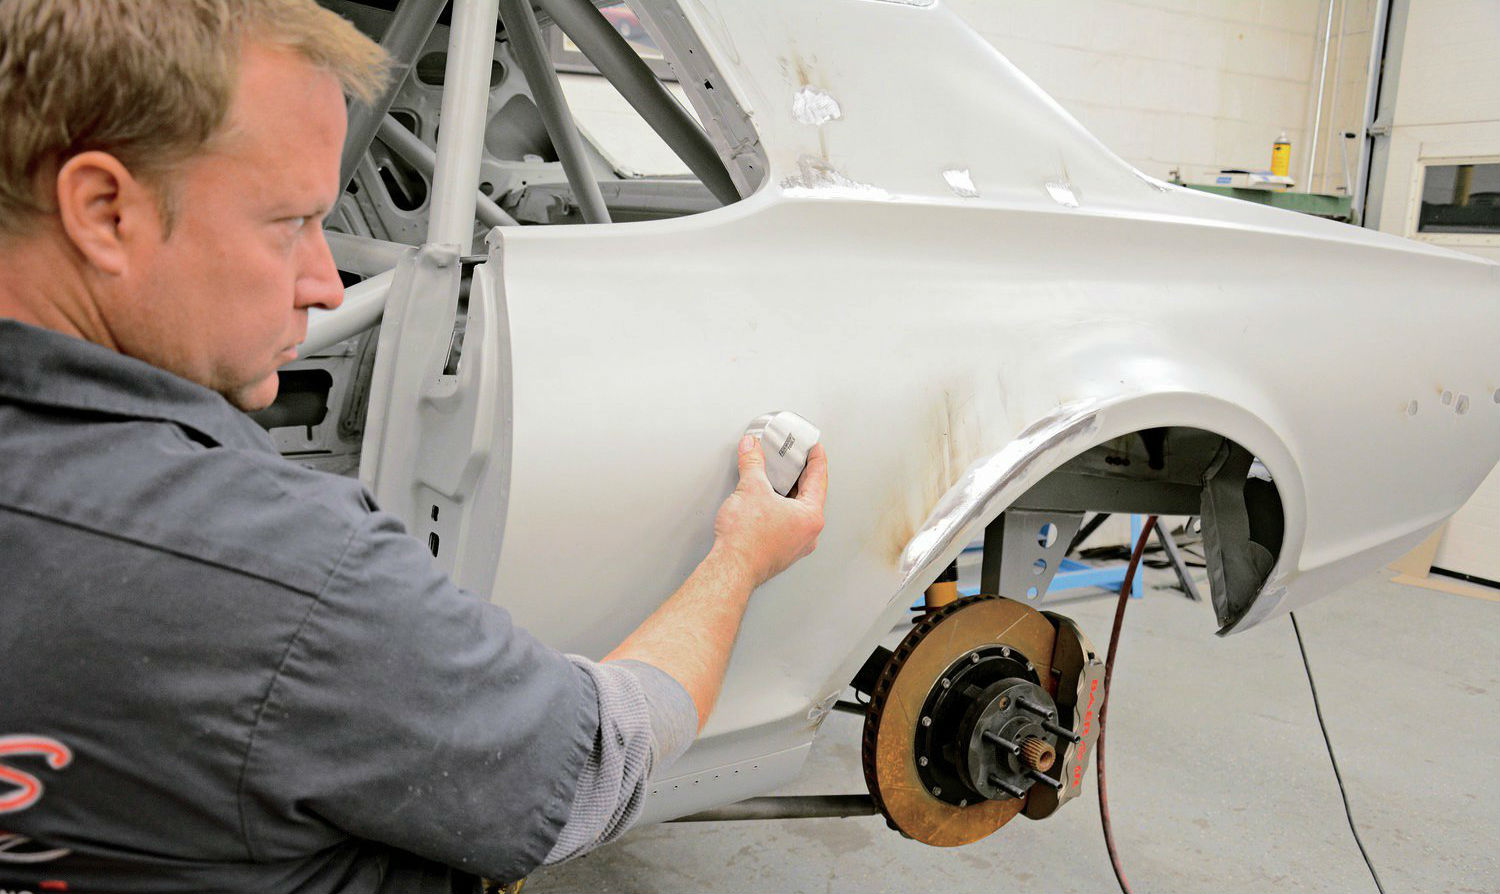
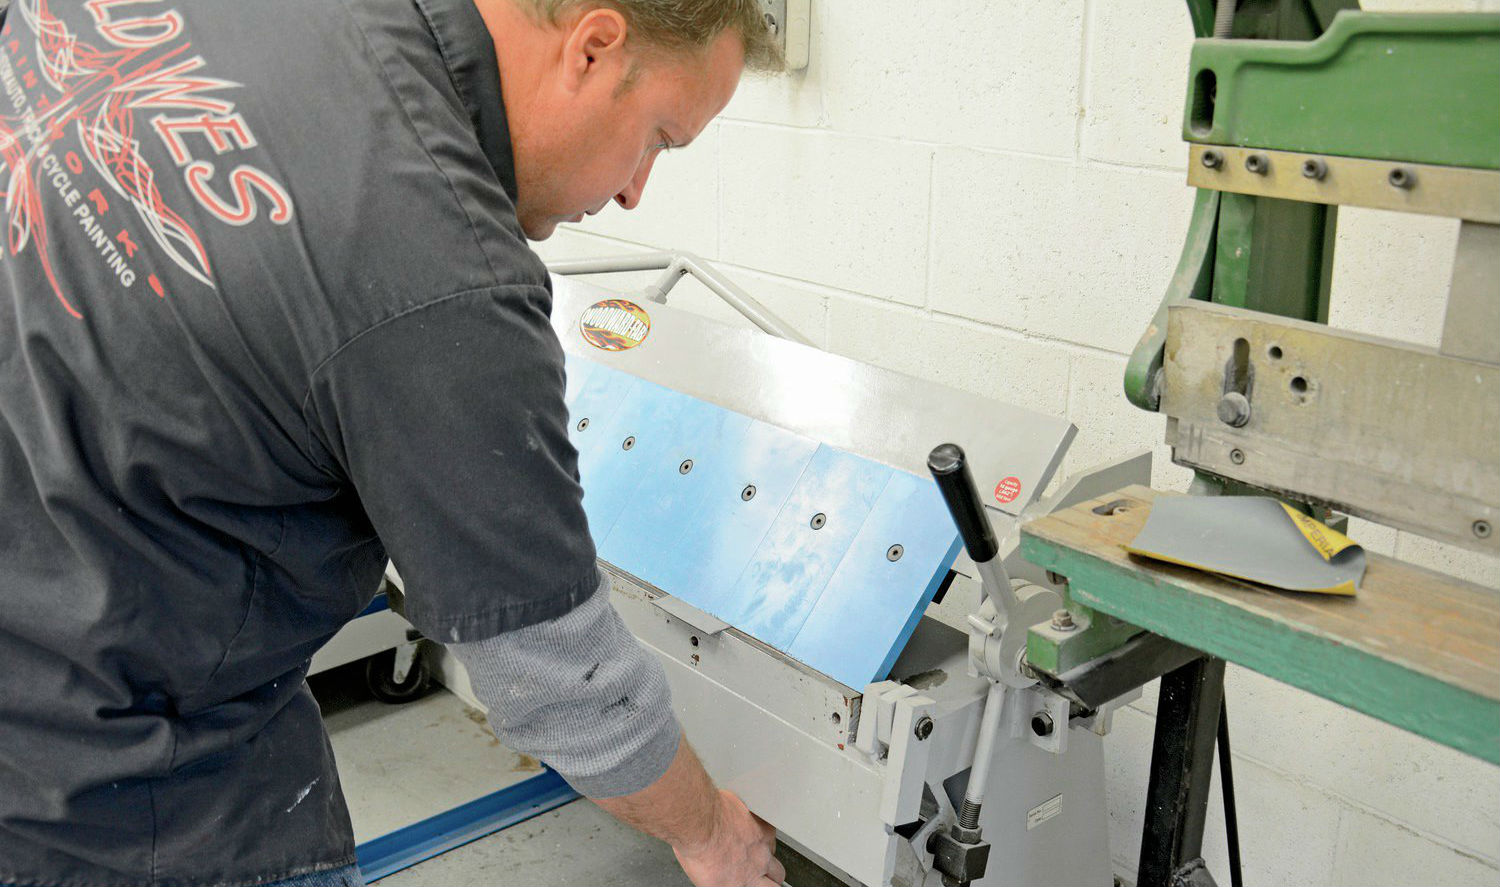
Fifthly, there`s filler and sanding!
Prior to applying primer or do any work on the filler, use a small percentage of hundred and eighty-grit media in order to harden the epoxy-coated places and to boost adhesion. For the places that needed to be welded or patched Adkins used USC 24030 Duraglas and All Metal 14010. Moisture is hard to be absorbed at these fillers.
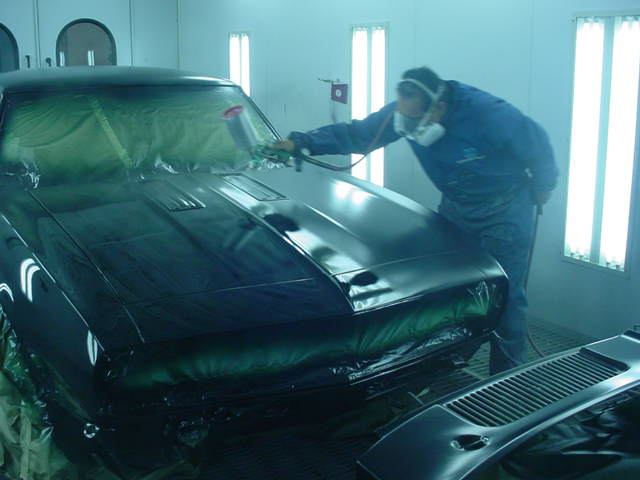
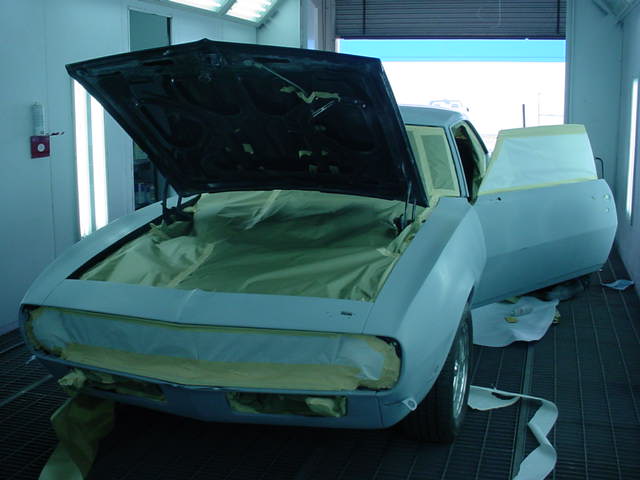
How To Paint your Car last step, there`s final block sanding.
Before you start to add some paint, you need to be sure that the surface is clean. Adkins uses Eastwood`s Pre Painting Prep which is a solvent detergent in order to wash all the dirt off, to remove stuff like fingerprints, dust or some kind of oil marks. He advices not to use somekind of rag in order to dry the water off, just plain paper towels.
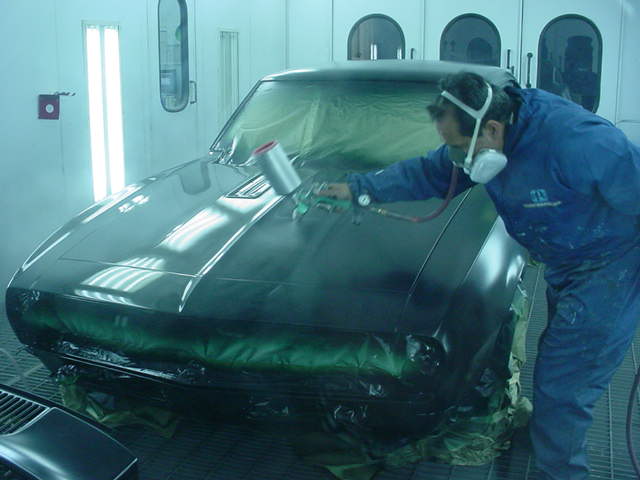
Metalux sealer primer needs to be applied before the base color is sprayed upon. The primer needs to be applied in a single medium coat.
When the striping was finished, Metalux 9354 clearcoat was used with ten to twenty percent 1155-22 reducer and 9352 2K hardener . This clear needs a 3 mil film for which coat and a half is needed. According to Max a moderate tack coat is suitable to begin with and you will need just a coverage. After ten minutes one wet flow coat is applied.
If that did not help, follow this link!