
Fixing a wheel is dependent on the type of wheel, the extent or type of damage and the owner`s personal preferences. Some owners prefer to get new ones to fix the issue. That is not always necessary. Some owners on the other hand, prefer an easier, cheaper solution that still takes care of the damage. That is where repairing alloy wheels come in. You can see this link alloywheelrefurbishmentleicester.co.uk for more information on this. Alloy wheel repair is the process of restoring any damages back to their initial good condition. Some of the situations that may warrant the service include:
- Prolong driving in rough terrain.
- Driving over a pothole, manhole covers and curbs causing destruction.
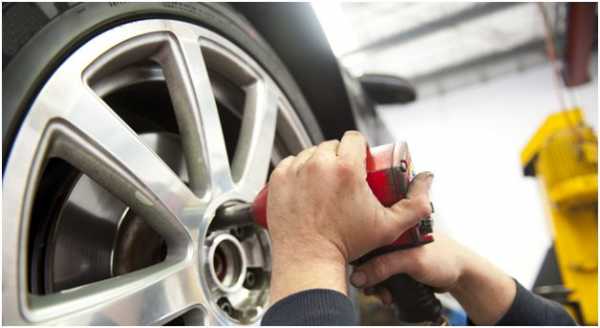
Unless you are experienced, you will probably need to seek out the services of a professional. Even if you do, it is important to understand exactly what to expect from the entire procedure. Here are some of the steps involved in repairing scratches:
Step 1: Assessment of damage
You may have noticed a certain degree of damage that prompted the need for repairs. However most times you may not be fully aware about the complete extent of destruction. As such, the first step before any rebuilding work is to assess the amount and extent of harm to your alloy wheels.
To do this the technician will use simple techniques like doing a thorough look and feel. In cases where you suspect the degree of wear to be extensive, you can use an x-ray to check for cracks and fractures in the metal.
This is however, a costly procedure and is not common in routine repairs. Apart from the cost, repairers often avoid it as it is rare for high degree damages such as cracks and fractures to occur without being visible.
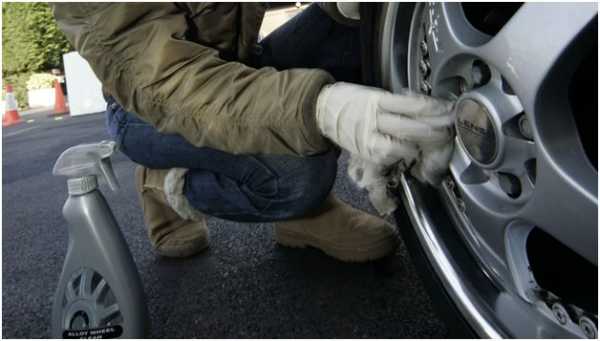
Step 2: Cleaning
After assessment, cleaning follows. It is an essential step because sometimes, dirt might clog in dents and other damages making them seem smaller than they are. Dirt accumulation also in other times might surround a problem area making it appear worse than it actually is.
To perform the cleaning step, you need paint thinner and a piece of cloth. It is best if the thinner is nonacidic. Then, simply apply the cleaner on the cloth then gently rub it on the problem areas in rounding motions until it is thoroughly clean then wipe with a dry piece of cloth.
To wrap up the cleaning step, mask other wheel areas to prevent any products of the process from getting on them.
Step 3: Sanding
Next, you will need a sandpaper or a metallic file to smoothen the damaged parts. To do that, wrap the sandpaper around a small wooden block, place it beneath your palm and file away.
This step makes rough edges soft. In the process, it also removes some corroded metals other debris. When you are done filing, run your bare hand along the metal surface to assess the smoothness.
Step 4: Painting
Painting is part of the final steps in this restoration procedure. However, more often than not, it is best to apply primer prior to performing this step to enable paint to set effectively.
Apply the first coat of paint, allow about one hour to dry, and then, add an extra layer. Do the same for all the corresponding layers. About three layers are enough although this is majorly subject to personal preference.
Step 5: Protective lacquer and final sanding
Once the paint dries, add a transparent protective lacquer on it. As the term suggests, the lacquer servers to protect the paint, and overall work done, enabling it to stay for longer.
After the lacquer, sand the area again, this time using a sandpaper with higher grits than the one you used for the initial sanding.
As a point of reference, the higher the grit, the smaller the grains on the sandpaper and the finer it is. Click here to read more.
Conclusion
As you can see, repairing alloy wheels for scratches isn`t very difficult. However, other more complex damages warrant for more complicated methods. Sometimes, the extent of destruction is large. In such cases, the only solution is replacing the wheel. Some of the situations that may require you to renew instead of repair include cracking, distortion and fracturing. It is important to consult with a professional on what next steps to follow.